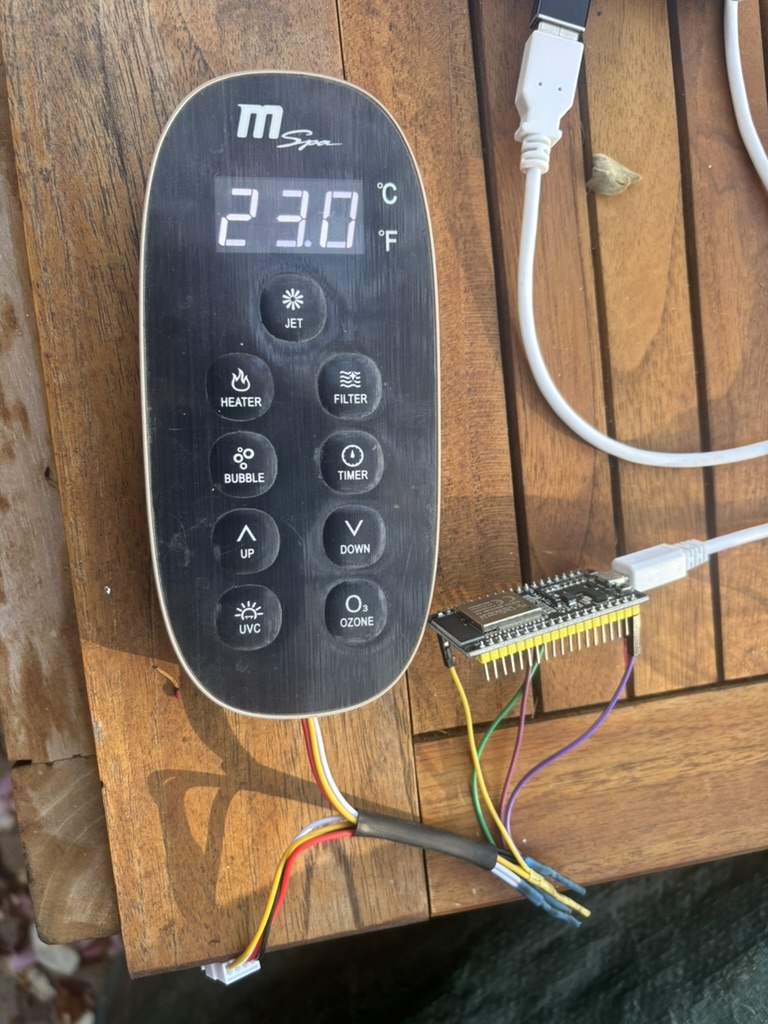
Welcome to my latest DIY home automation project: transforming a traditional doorbell into a smart doorbell using ESPHome and an ESP8266/NodeMCU[*] along with a sound sensor[*]. In this blog post, I’ll walk you through the setup and share the configuration that worked for me, making your doorbell not only smarter but also integrated with Home Assistant.
Why Automate Your Doorbell?
Automating your doorbell can enhance your home security and convenience. With a smart doorbell, you can receive notifications directly on your phone or through your home automation system whenever someone is at your door, even when you’re not home.
Choosing the Hardware
For this project, the choice of hardware was crucial for ensuring reliability and ease of integration:
- ESP8266/NodeMCU[*]: A versatile board that’s perfect for DIY projects due to its Wi-Fi capability and compatibility with ESPHome.
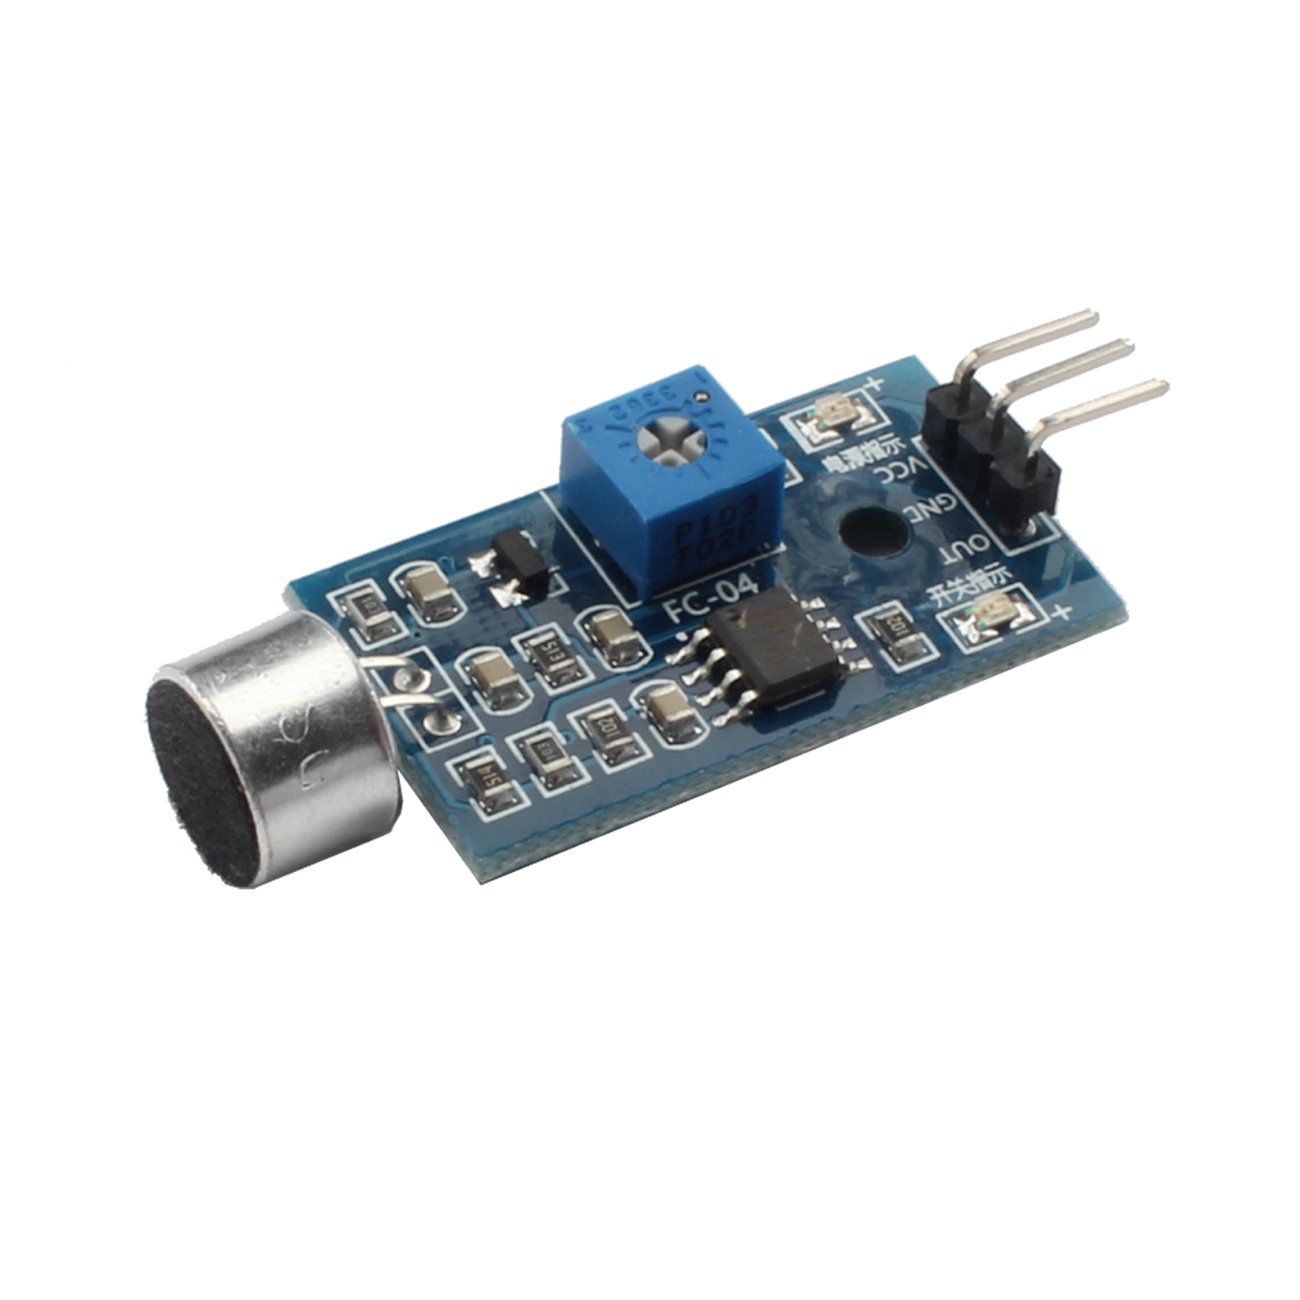
- Sound Sensor[*]: This component detects the bell’s ring and triggers the system. I opted for a basic sound detection module which can easily interface with the ESP8266.
Setting Up ESPHome
ESPHome makes it incredibly straightforward to program your ESP8266 without deep diving into complex programming. Here’s the final configuration that worked for me:
esphome:
  name: klingel
  friendly_name: Klingel

esp8266:
  board: esp01_1m

# Enable logging
logger:

# Enable Home Assistant API
api:
  encryption:
    key: "4LMHVrMVjPGmQ2n8BbLKgYl0NL6msgteXjJ9cmoK9Oc="

ota:
  password: "f53a00d0a80938e88669862cf151af67"

wifi:
  ssid: !secret wifi_ssid
  password: !secret wifi_password

  # Enable fallback hotspot (captive portal) in case wifi connection fails
  ap:
    ssid: "Klingel Fallback Hotspot"
    password: "3GePiOogehOQ"

captive_portal:

binary_sensor:
  - platform: gpio
    pin:
      number: GPIO4
      mode: INPUT_PULLUP
    name: "Sound Sensor"
    device_class: sound
    filters:
      - delayed_on_off: 100ms
Key Features of the Configuration
The delayed_on_off filter in ESPHome is used in scenarios where you want to prevent noise or fluctuations in sensor readings from causing erratic behavior. This is especially useful with binary sensors like a sound sensor, where brief, insignificant changes might be detected as valid events.
Here’s how it works:
- Delayed On: The sensor must continuously detect the condition (e.g., sound detected) for the specified delay period before the sensor’s state is changed to „on“. This helps to avoid false triggers due to short, random noises.
- Delayed Off: After the sensor stops detecting the condition, it waits for the specified delay period before changing the sensor’s state to „off“. This ensures that brief interruptions in the detected condition don’t lead to the sensor state toggling off prematurely.
For example, with a delayed_on_off: 100ms setting, the sound must be detected continuously for at least 100 milliseconds before the sensor reports it as „on“, and once no sound is detected, it must remain undetected for another 100 milliseconds before the sensor changes to „off“. This filtering method provides a more stable and reliable sensor output, reducing the impact of transient noises or interruptions.
Other configurations
- Wi-Fi Connectivity: This allows the ESP8266 to connect to your home network. The
!secrettag is used to keep sensitive information like your Wi-Fi credentials secure and separate from the main configuration file. - Fallback Hotspot: If the primary connection fails, the ESP8266 can create its own network, ensuring that it remains accessible.
- Over-the-Air (OTA) Updates: This feature allows for updating the device firmware remotely, secured with a password.
- Home Assistant Integration: With the API and encryption, the device can securely communicate with Home Assistant, enabling automations and notifications based on doorbell rings.
Integrating with Home Assistant
Once the device is up and running, Home Assistant detects the new device automatically, allowing you to create automations, such as sending notifications to your mobile devices or triggering other smart home actions when someone rings the doorbell.
Conclusion
Automating a doorbell using ESPHome and an ESP8266 with a sound sensor is not only fun but adds a layer of functionality and security to your home. This project is a great example of how open-source tools can be used to enhance everyday objects smartly and affordably. Whether you’re new to home automation or looking to expand your smart home ecosystem, this project is a great addition to any home.